
The Stone Knot (aka Stein Knot): A Canyoneering Secret Weapon

The Stone Knot (or Stein Knot) is a blocking knot technique that can improve safety and speed things up on canyoneering descents. A couple of nerdy technical points: first, the Stone Knot is actually the kind of knot called a 'hitch', since it uses an object to complete the knot; and second, the Stone Knot is a family of knots, since there are at least four forms that qualify as Stones, while being somewhat different. The Stone Knot is made in a rope set-up for a rappel, near the anchor. The Stone isolates both rope strands, so each strand can be used independently. This allows the next rappeler to start setting their rig up while the previous rappeler is making their way down the drop. When conditions allow it (2-person strength anchor, no loose rock), the second rapper can start down as soon as they are ready. With the rope "Stoned", a big-boned canyoneer can rap double-strand if they prefer.
The object that completes a Stone Hitch is a carabiner, and I find it best to use a large locking carabiner for this purpose, such as the Petzl William (shown), the Iris HMS Screwgate, or the BD Rocklock. Using smaller carabiners makes the knot more awkward to set up correctly.
How to tie a Stone Knot
First, set up the rappel rope. Lots of options here, but in general, thread the end through the anchor ring and pull through enough rope to easily reach the bottom of the rappel.
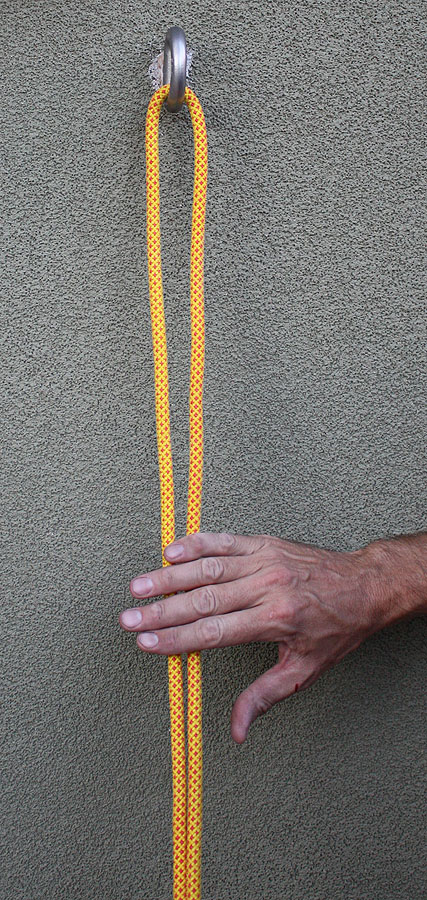
1. Grab both strands of the rope with your hand, thumb down.
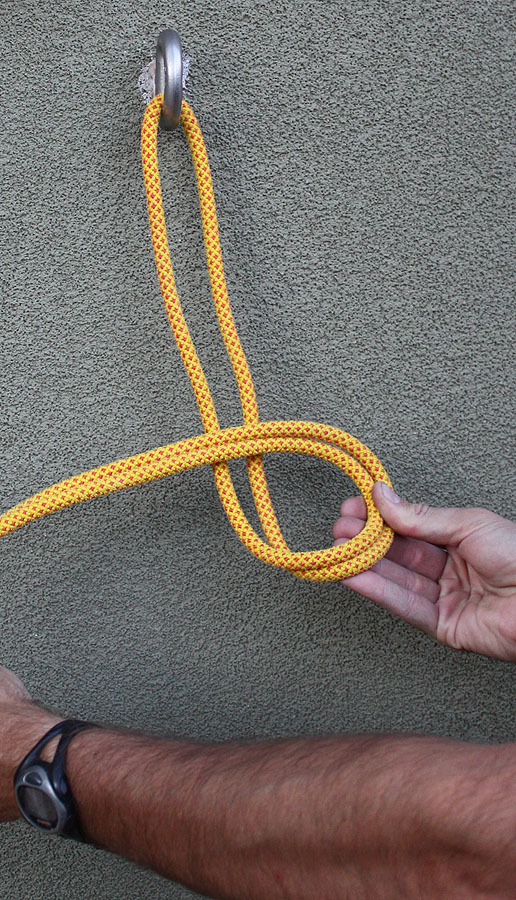
2. Turn your hand over to create a loop.
3. Fold the loop UP and center on the two strands coming down from the anchor.

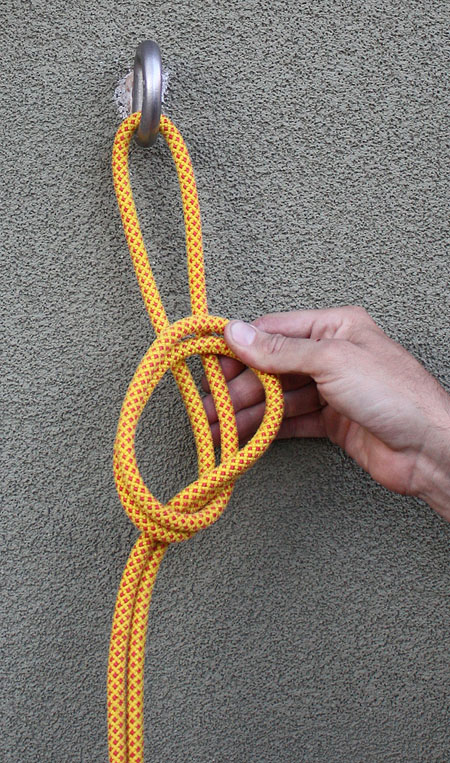
4. Pull the two strands from the anchor through the loop, just far enough to clip a carabiner through it.

5. Clip a large carabiner through those two strands.
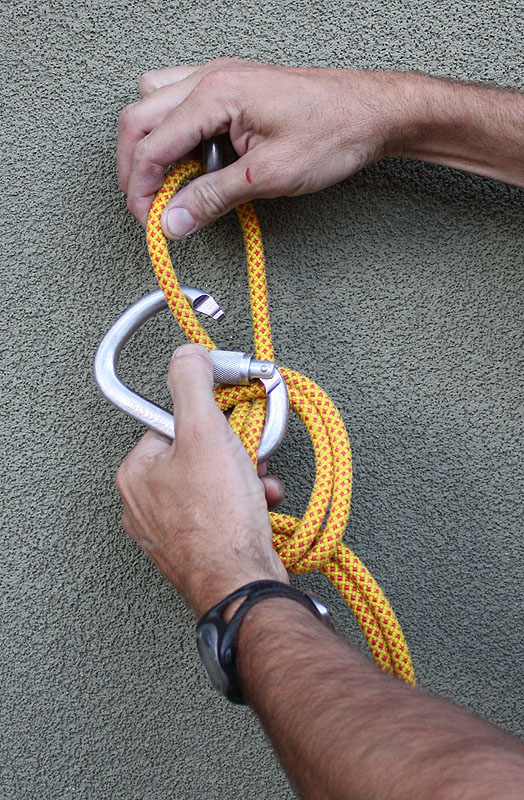
6. Rotate the carabiner around, and clip ONE of the top strands with the carabiner.
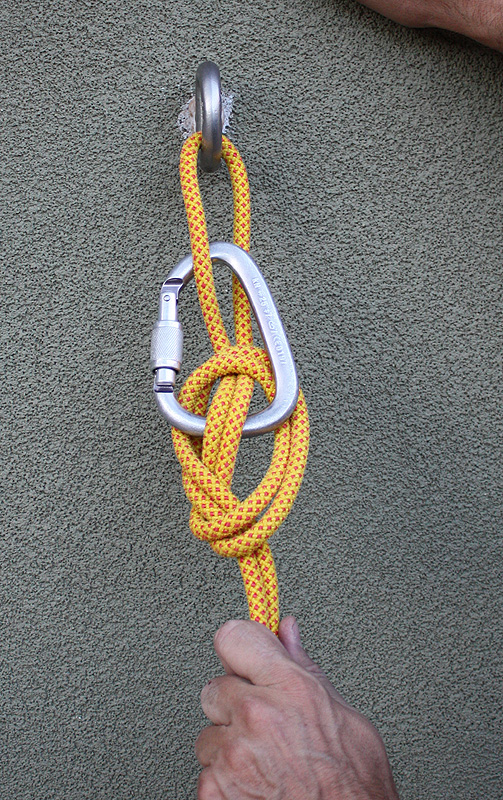
7. Lock the carabiner, then rotate it back around so the wide basket end of the carabiner is down, blocking those two strands from popping back through the loop.
8. Tighten it up. Voila!
Further comments
Notice that the Stone creates a closed loop between the Stone and the anchor: a loop that can be used to clip your safety-sling off to. This can be useful when the anchor is a ways back from the edge.
After the Last Person is down, how do we get the rope back? We do it by taking the Stone out before the Last Person comes down. Often, that means the Last raps double-strand, but the rope can also be re-rigged with a block to rappel single-strand. The Last might need communication from below to figure out which strand to block and rappel on.
If the rap is longer than half the rope, a Stone can still be used. Unless setting the rope length carefully, the knot that bends the two ropes together would be above the Stone Knot, close to the anchor, between the anchor and the Stone, so both strands can be used, without anyone having to pass a knot. If converting to a lower, this might complicate things a little bit, but not a lot.
While perhaps not as ready-to-go as a contingency anchor, like many single-rope techniques, the Stone converts easily and quickly to a lowering system. To set yourself up for success, tie your Stone Knot as close as possible to the anchor.
When you make the Stone, it tends to put a full twist in the rope. When you take it out, it tends to put a full twist in the rope the other way. I find it better to just not worry about it until the end, then (with help from below) to get the strands straightened out before I come down last.
The Stone can be made using an overhand knot or a figure-of-eight knot, and folding the loop Upward or Downward.
If you are leaving a non-Stone-Knot adept person to go last, be sure to review with them how to undo the Stone knot. It is not as obvious as it might seem.
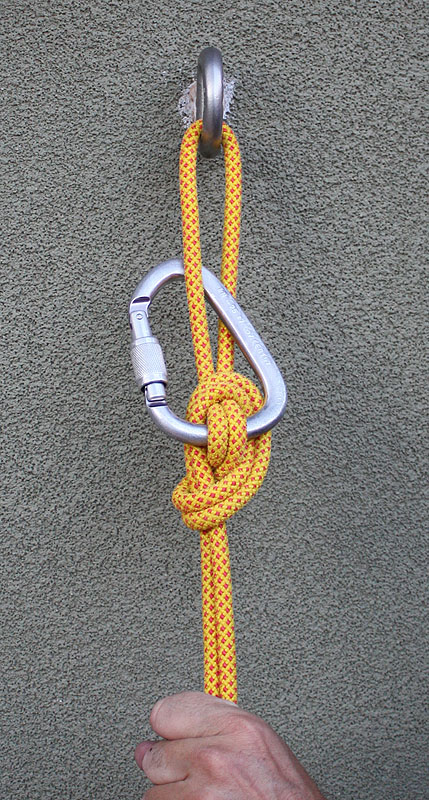
The Stone Knot is an essential tool when using the Fiddlestick technique. We use the Upward, Overhand Stone as it seems to have the cleanest release. Here, we show a wooden peg stuck through where the carabiner normally goes. There's more to using the Fiddlestick... but that's for another Tech Tip Post.
Thanks to Dave Buckingham for providing hand-model services.
Gear to get you started
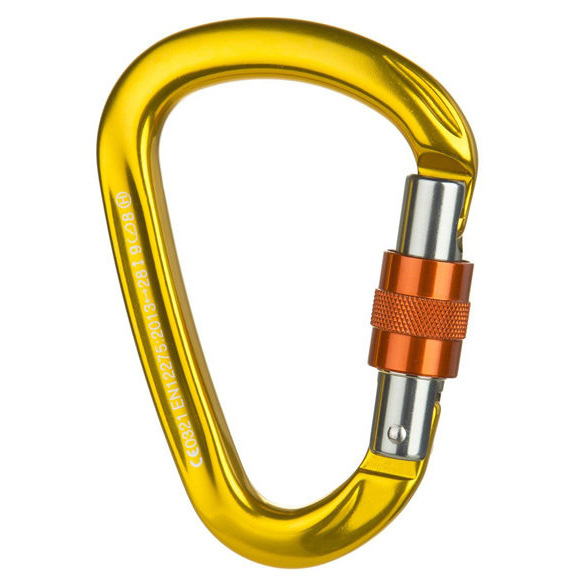

A nice, largish, locking carabiner at a good price. Keylock nose means less snagging, screwgate lock mechanism resists clogging. Not exactly round stock, but pretty close, and very nicely finished.
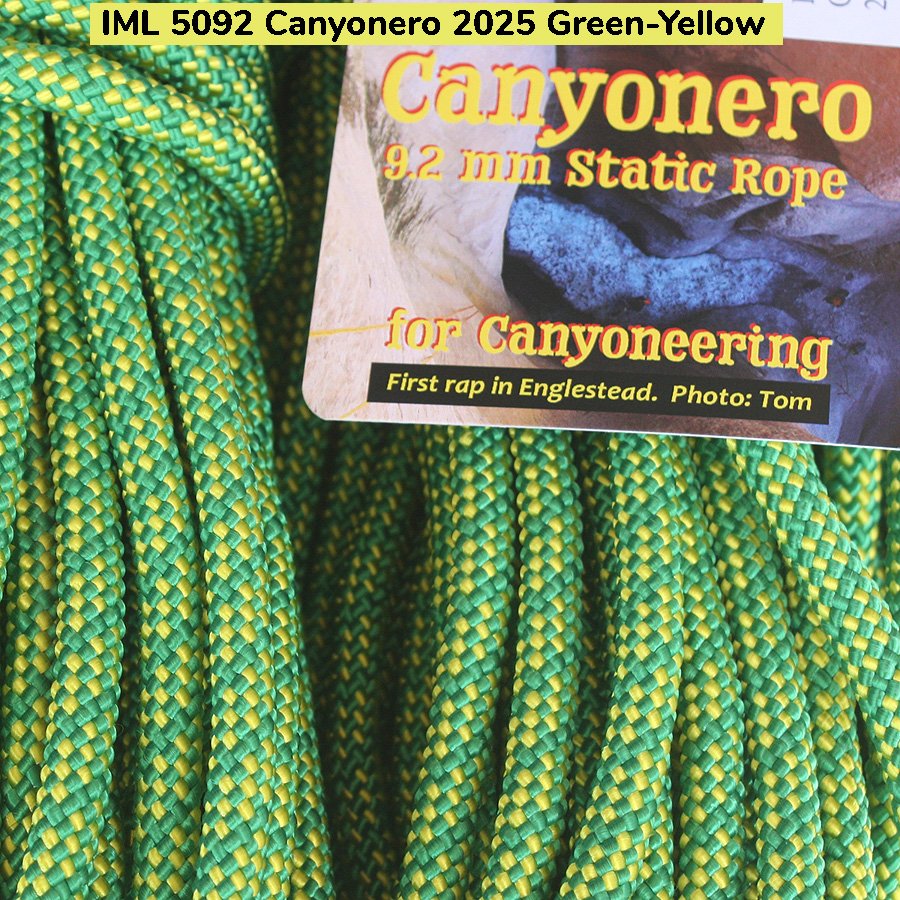

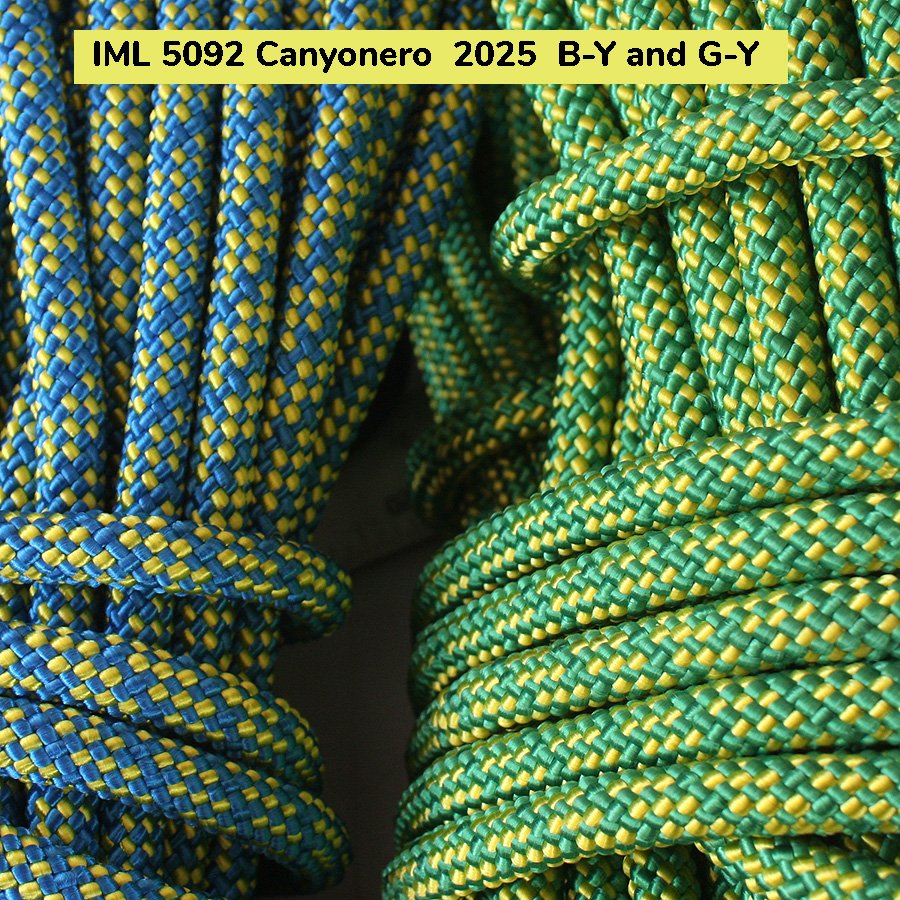
We applied the Sheath-Heavy design that worked so well for the Canyon Fire to our 9mm rope, to get a somewhat bigger, somewhat stouter and better-handling rope — Canyonero! The sheath is 52% of the rope, so there is 8% more sheath than core. It is firmly woven for longest life, and uses 100% polyester to minimize water absorption. A nice handling, long-lasting static rope that works great, especially for heavier canyoneers and for Class C canyons with harsh rock, as in Ouray, Colorado.
The Canyonero is longer lasting (than the 8mm and 8.3mm) for 10% more weight. We also gave it a few more core strands, so it has a rated strength of 5000 lb.