
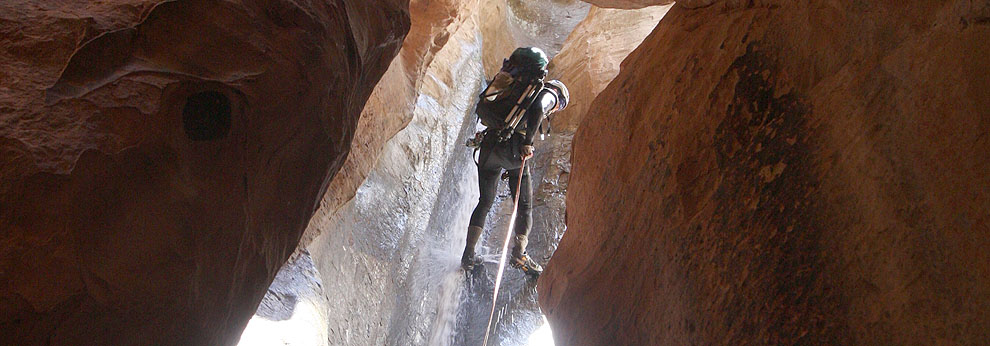
The Swiss Seat - A Simple and Safe Webbing Harness for Canyoneering
Sometimes it is a good idea to tie a harness from a length of webbing. Canyons in North Wash often only have one or two rappels, so a temporary webbing harness works well there. Sometimes your partner will goof up and forget his harness—good to have a backup plan other than running six miles back to the car. Other times you might need to come up with harnesses for a bunch of kids or something. A Swiss Seat harness can be a good solution for these situations. The term "Swiss Seat" out there in Googleland covers a wide range of options, some of which are pretty safe, and some which are definitely not. I will present here what I think is the best, safest option, which might better be called a "Tied Harness" or "Improvised Webbing Harness."
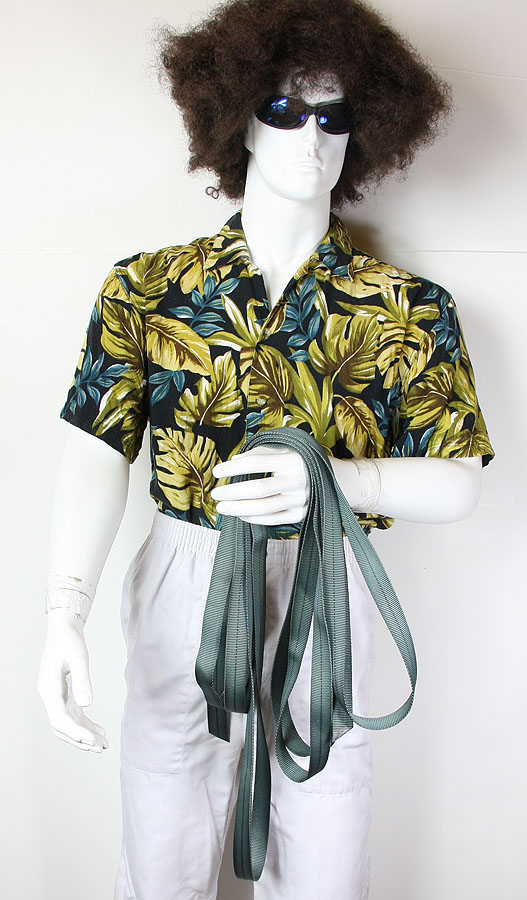
Fred wants to go canyoneering, but while he is packing up Friday night, he notices his sweet Golden Retriever Miles chewing on his harness, and that he has been at it for some time. What to do? Thankfully, Fred knows how to tie a pretty decent webbing harness: the Swiss Seat! So he grabs a twenty foot length of 1" tubular nylon webbing to make a harness for the weekend.
Tied Harness using 20 feet 1" Tubular webbing
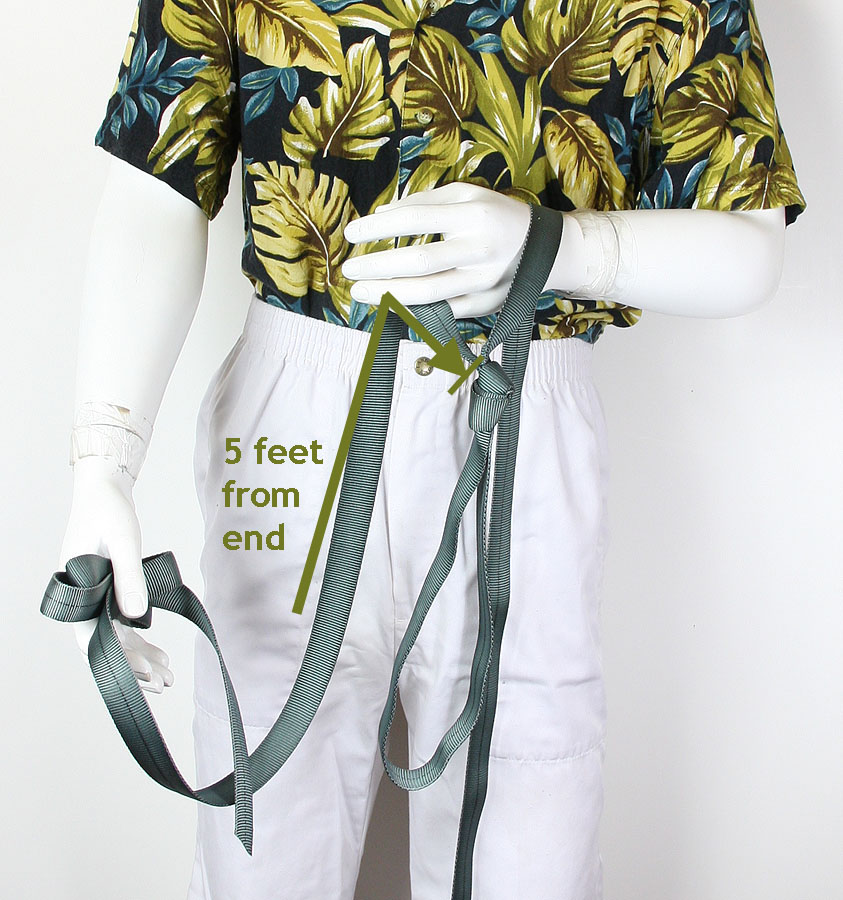
Tie one leg loop, five feet from one end
1. Fred first finds a spot five feet from one end, makes a loop past that and ties an overhand on a bight, leaving a loop about as big around as his thigh.
Tie a second leg loop six inches further out
2. Fred ties a second loop for his second leg, leaving about six inches between the two loops.
Step through both loops, and bring to top of thighs
3. Fred steps into both loops, pulling them up to the top of his thighs. The loops should be fairly snug around the top of the leg, fitting into the notch at the top of the muscle. A snug fit will help them to stay in place, which will make them MUCH easier to wear in the canyons. Fred takes the time to adjust the loop size carefully.
Wrap the long end around your waist many times
4. Fred next wraps the long end of the webbing snugly around his waist as many times as it will go, whilst leaving a long enough tail to tie a knot somewhere near the front. He starts the wrap by going back over his hip bone.
Wrap short end around and tie with water knot
5. Fred now wraps the short end around his waist one and a half times, then ties the two ends together using a water knot.
Complete Water Knot and tighten waist snug
6. Fred tightens up that water knot so his waist is snug, but not painful. He carefully tucks the ends in so they don't get in the way when he is rappelling.
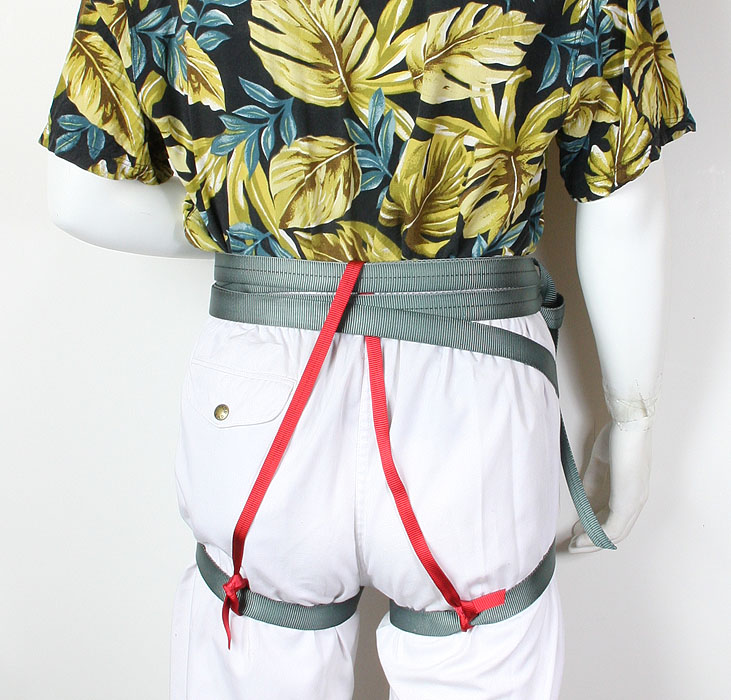
Put a carabiner through ALL waist strands and the leg loop strand
7. To complete the Swiss Seat, Fred puts a large locking carabiner through ALL of the waist strands and the strand between the two leg loops. Because Fred made the waist appropriately tight, he has to bend at the waist to get the leg loop strand into the carabiner. Fred will use the carabiner as if it is a belay loop.
Use the first carabiner as a belay loop - rappel
8. Fred is happy that he now has a pretty reasonable webbing harness to wear for the weekend.
For deluxe version, add a strap to hold up the back
7a. Since Fred is going to use this improvised harness all weekend and wear it for most of the canyons, he chooses to add a bit of webbing to the back of the Swiss Seat to hold the leg loops up in position. Kind of a pain when putting the harness on, but its better than the leg loops dropping down every third step.
There you have it. While it's not the most comfortable harness and lacks amenities like padding and gear loops, the Swiss Seat makes a pretty good harness from 20 feet of webbing, which you are likely to have in your kit at most times. Let me emphasize that the waist wraps need to be tight. After the first rappel, or getting wet, or even just 15 minutes of walking around, take the time to tighten up the waist wraps and re-tie the knot.
Like all harnesses, the Swiss Seat harness works much better on folks that are height-weight proportionate and have a defined waist. Top-heavy men may need a chest harness to aid with staying upright. Kids will need a lot of help getting and keeping the waist wraps sufficiently tight. Leave at least six inches of tail on the water knot, make sure it is 100% correct, and make sure the carabiner catches ALL of the waist-wrapping strands.
Have fun out there, but be safe too.
GALLERY


gear to get you started
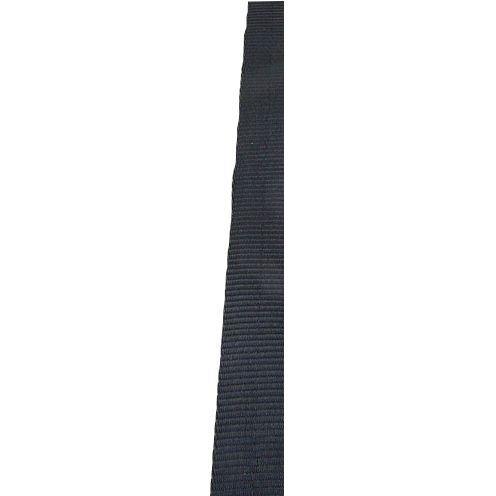
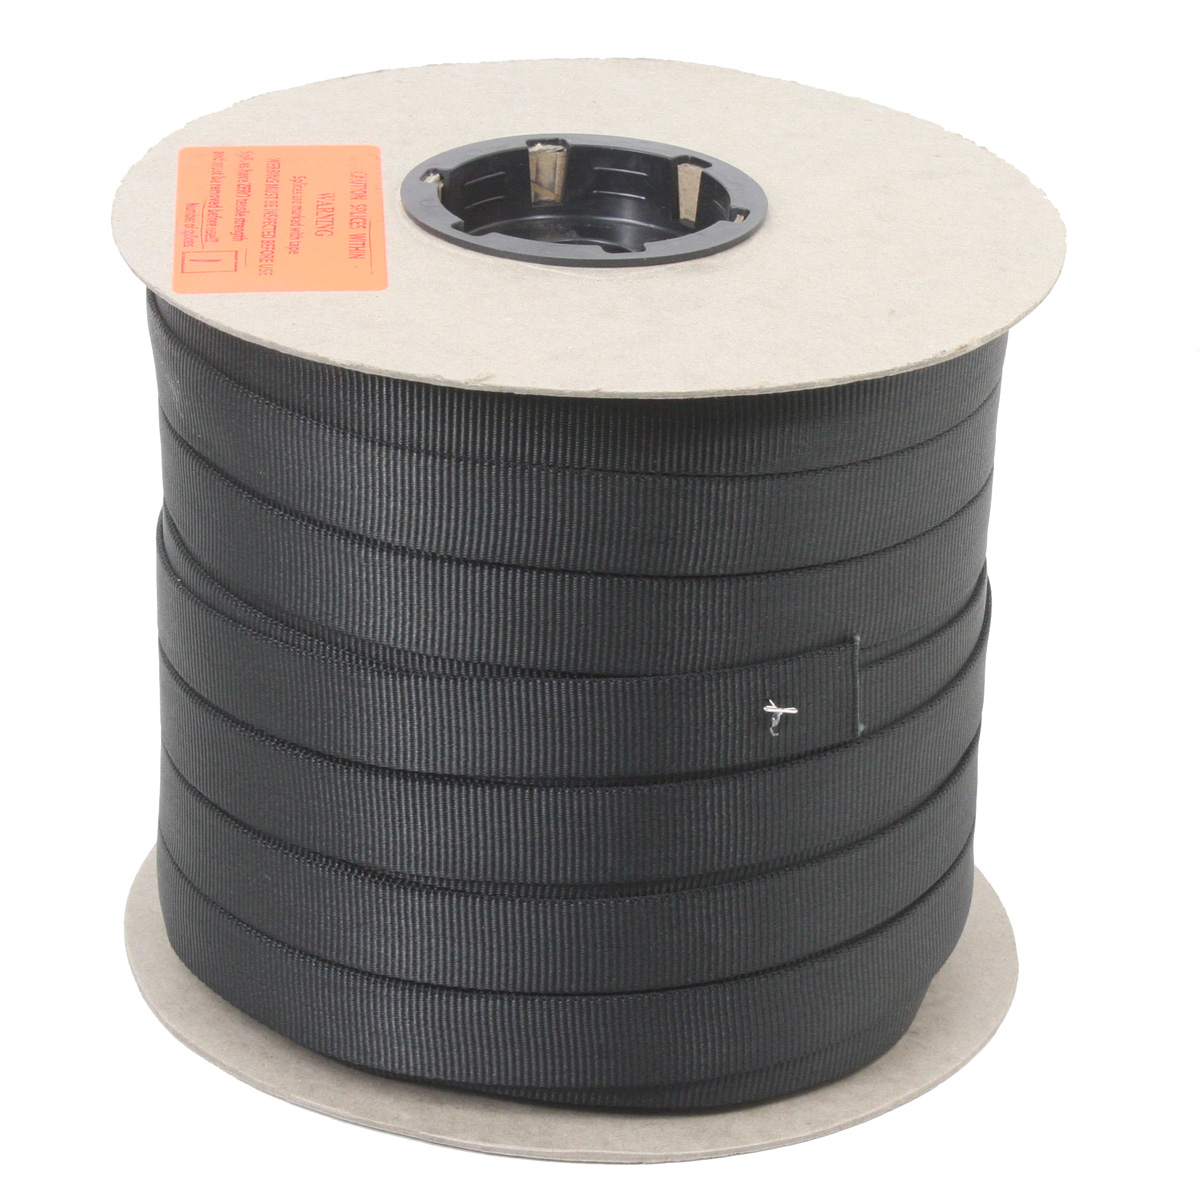

Sold by the foot - lengths up to 40' will be shipped as one piece. Longer pieces normally will, but not guaranteed (unless you ask). Or buy a 300' spool!
I only sell black these days, as black is ALWAYS a natural color, and may soon be required by some land managers in the future. It is the least obtrusive single color. Black - the NEW Orange!
We also might have some pieces already cut… easier for us if you order one of these, so they are offered at a slight discount.


A nice, large, locking belay carabiner at a very reasonable price. Keylock nose means less snagging, screwgate lock mechanism resists clogging, big size useful especially when wearing an Alpine Bod harness, or if you insist on clipping the biner through both the leg loops and waistbelt, rather than using the belay loop. (Which you should never do).
(And no, the Black is not smaller than the Grey.)
July 14, 2026: Black not available from BD until about Aug 15th.

A Canyoneering-style Harness from Singing Rock
A pretty-good euro-style canyoneering harness, less over-built than the Petzl model. Pretty comfortable, reasonably durable. Barely-adequate gear loops. Good tie in point. The black PU seat lasts pretty well (better than a ScuttleButt!), and can be replaced with a ScuttleButt when trashed.