How to Rappel with the Black Diamond ATC
The Black Diamond ATC is a simple, versatile tool for belaying and rappelling. The original ATC works well with rock climbing ropes 10mm and larger, while the Black Diamond ATC-XP better handles the smaller ropes used for ice climbing and canyoneering. This Tech Tip is about using the ATC-XP.

Original ATC
Design History
I worked for Black Diamond in 1990-1991 when the ATC was developed and had a small role in its evolution. My buddy Chuck Brainerd designed it as a variation on the Chouinard Micro-Belay Plates, which were really a variation on the Sticht Plate. The problem with Sticht plate devices was when the climber pulled hard on the rope, the plate would move down and lock against the carabiner, trapping the rope. By holding the slots a half-inch above the biner, rope could be fed under tension, and the mechanics of providing a good belay became much easier. Chuck also looked at the sharpness of the edge the rope passed over, and we made that edge sharper (than on a Sticht Plate) to generate more friction, thus providing the belayer with better control. The Black Diamond ATC revolutionized belaying in rock climbing. While there are many imitations, the original holds a dear place in my heart for its elegance of design.
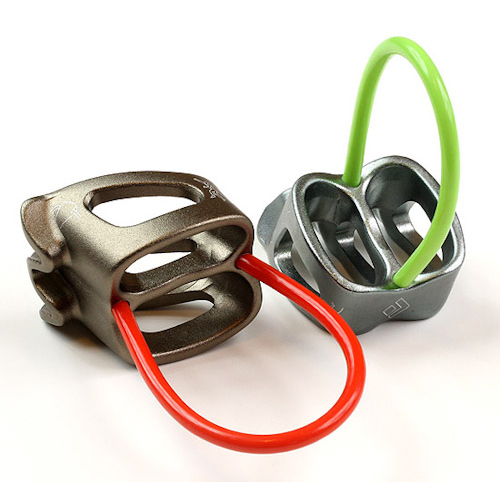
The ATC-XP was designed 10 years later by Jonny Woodward to provide more friction when using skinny 8mm ice-climbing ropes. It features an asymmetric design, with one side providing significantly more friction. The ATC-XP also has more material, which results in a longer useful life.
Using the Black Diamond ATC-XP For Canyoneering
The ATC-XP is a pretty good rappel device for dry canyons (Canyon Ratings), and non-flowing wet canyons (Class A and Class B). It is not suitable for use in Class-C (flowing water) canyons, and should be scrupulously avoided as it does not tolerate twists in the rope and crap on the rope like Critrs or other Figure-8 based devices do. I use the ATC-XP for canyons with few rappels, when I am going with competent partners, as the ATC is lighter and more compact than the Critr. When canyons involve more climbing and less rappelling, the ATC shines as it gets in the way less. I prefer the Critr for wet and Class-C canyons, and for canyons with lots of rappels. The features of the Critr allow easier performance of rescue tasks, should they be necessary.
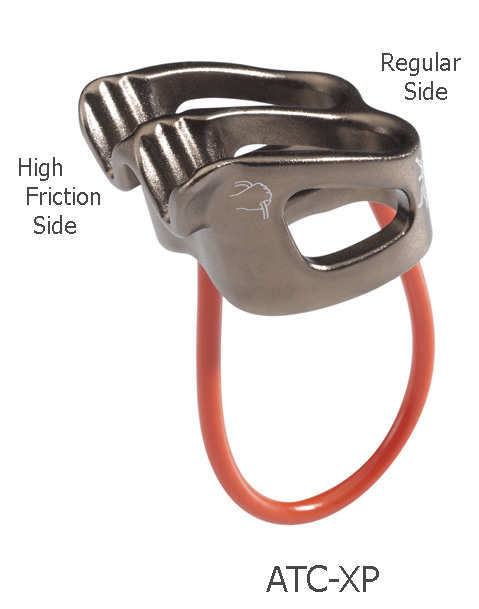
ATC-XP Anatomy
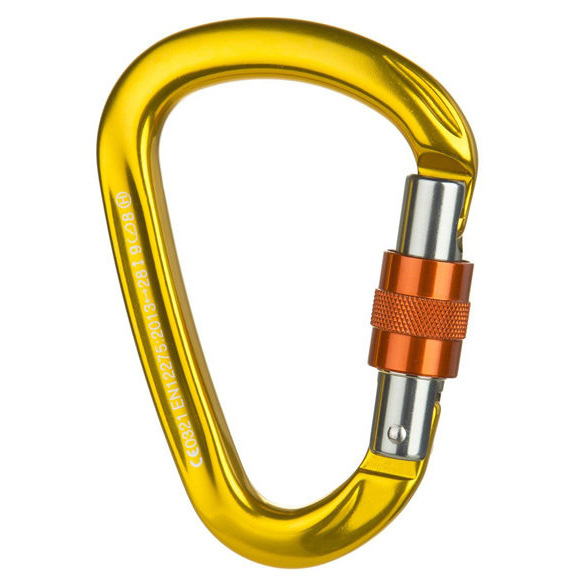
The ATC-XP can be rigged in a number of different ways to get the proper friction for the rappel at hand. For best function, use it with two large, round-cross-section screwgate locking carabiners like the Petzl Attache.
The ATC-XP has two slots and two sides. It does not matter which slot you rig your single-strand rope in: they are functionally the same. The two sides are called “regular” and “high friction,” respectively (see photo).
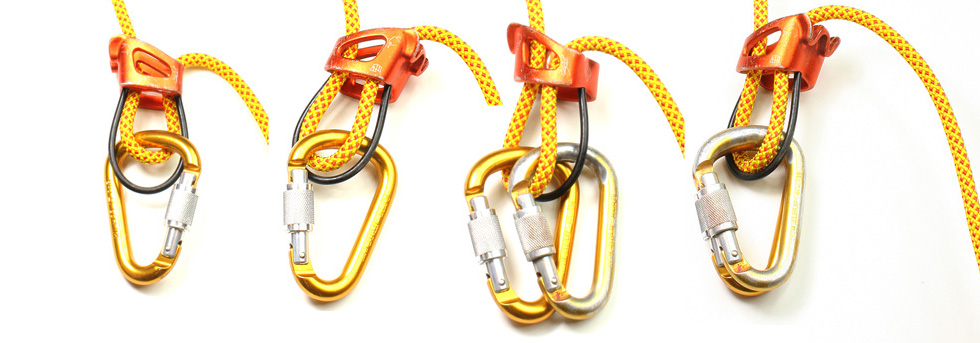
There are four main “modes” we can set up to determine friction with the ATC-XP. In the Zero Mode, the strand from the anchor enters on the high-friction side, and exits over the regular side. In the One Mode, the rope exits over the high-friction side, running through a V-groove with much more surface area and some ridges. This provides perhaps 20% more friction than the regular side. The ridges wear down with use, but this does not affect the friction, much.
To achieve even more friction, add an additional carabiner to widen the rope’s bend and against the carabiners. The Two Mode is roughly 20% more friction than the One Mode. Add the high-friction side, and again, add roughly 20% to the friction.

ACT-XP Settings
All hunky-dory, right? Well… I prefer the low-friction side of the ATC-XP. The high-friction side tends to “squeegee” the rope, encouraging the sheath to slip on the core. Especially when wet, this can set up a disconcerting chattering action as the rope runs through the device; in extreme cases, a clump of sheath can accumulate below your device. In the very worst case, enough sheath bunching can get you stuck! I tend to use the “2” Mode except on 8mm raps longer than 60 feet, where I go to the “3” Mode or set up a leg loop biner (as shown in a future Tech Tip).
How to Rappel with an ATC-XP
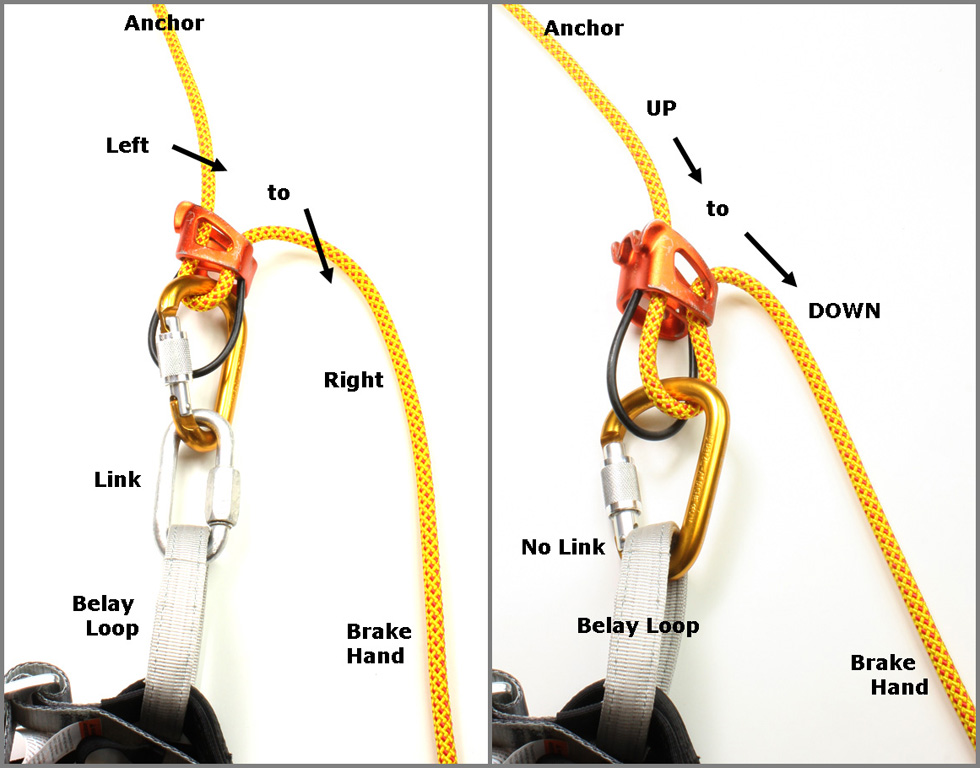
The ATC-XP is pretty straightforward to set up. After you have chosen your desired mode, step over the rope so it is on your right as you face the anchor. Take the ATC off your rappel carabiner, pinch the rope sharply and push it into one of the slots from the top. If you struggle to get it through the slot, try pinching it more sharply, perhaps even using your teeth! Orient the ATC so the rope runs from the anchor either left to right or up to down. (Orientations stated with a right-handed bias, as usual.) Clip the rappel carabiner through the loop of rope AND the keeper loop on the ATC. Make darn sure the rope goes through the carabiner.
If using two carabiners underneath, I find it easier to set up the ATC with one carabiner, then clip the second carabiner through the rope, keeper and belay loop afterwards.
It is a good idea to clip the ATC to your harness with the proper up-down or left-right orientation. If it is misoriented, the rope can shift to an incorrect rope-path through the ATC which might result in either way too much or way too little friction. Surprise! It is best to avoid this.

How do you know what setting to use?
Mostly from experience, but here are some starting guidelines:
Single line, 8.3mm Canyon Fire Rope:

Canyon Fire Rope available at the CUSA Store!
ZERO up to 120 pounds
ONE 120 to 140 pounds
TWO 140 to 170 pounds
THREE 170 to 220 pounds
Single Line, 9.2mm Canyonero Rope: Subtract 1/3 setting
Single Line, 8.0mm Imlay Canyon Rope or BlueWater CanyonPro: Add 1/3 setting
Double Line, rather than Single Line: Subtract one full setting
Long Rappel, longer than 80 feet: Add 1/2 setting
Brand New Rope: Add 1/2 setting
First Rappel of the Day: Add 1/2 setting
Tired, Dark, Cold or Extra Scared: Add 1/2 setting
Or maybe you just like it faster or slower? Adjust accordingly. While experimenting and finding what works for you, it is a good idea to have a bottom-belay (or a top-belay), in case you misjudge your needs.
Common Mistakes

The most common DIRE mistake I have seen is, when rigging on a two-rope rappel, to not get one of the ropes into the carabiner. It may ‘feel’ like both ropes are in, and may even survive a weight-test, but when actually rappelling, one rope pops free resulting in loss of control and death. Most of the accidents I have read about had contributing circumstances such as lots of clothing worn, darkness, cold, flowing water, etc.—the usual distractions. When rappelling double strand AND single strand, make darn sure the rope is inside the carabiner before launching off.
Conclusion
The Black Diamond ATC-XP is a fine rappel device, especially for Class A and B canyons. Not good for Class C canyons. It is simple, light and compact. Like any device, it is a very good idea to learn how to get more or less friction to adapt to the problem in front of you. When using the ATC-XP, it helps to have two matched, large, round-stock locking carabiners to use with it, to set up higher-friction modes.
Disclaimer: Information here is my own, and was neither provided nor reviewed by Black Diamond.